To start off, we had to research and find out what it was, being the pleb I am, I used google and clicked the first link.
http://en.wikipedia.org/wiki/Infrared_photography
So far, I've learned that the infrared wavelengths lie in-between microwaves and visible light, (which is then followed by ultraviolet.) Infrared photography is putting a filter that blocks all but infrared light to the camera lens. The original creator was Robert R. Wood, in the beginning of the 20th century.
To start off, I realized that I had no filters for the lens available, so all of that effect would have to be done post-shoot. I continued my project by googling "Infrared Photoshop Effect Tutorial" and came up with two promising websites:
http://www.photoshopessentials.com/photo-effects/infrared-photo/
http://photo.tutsplus.com/tutorials/post-processing/creating-an-infrared-effect-to-photos-using-photoshop/
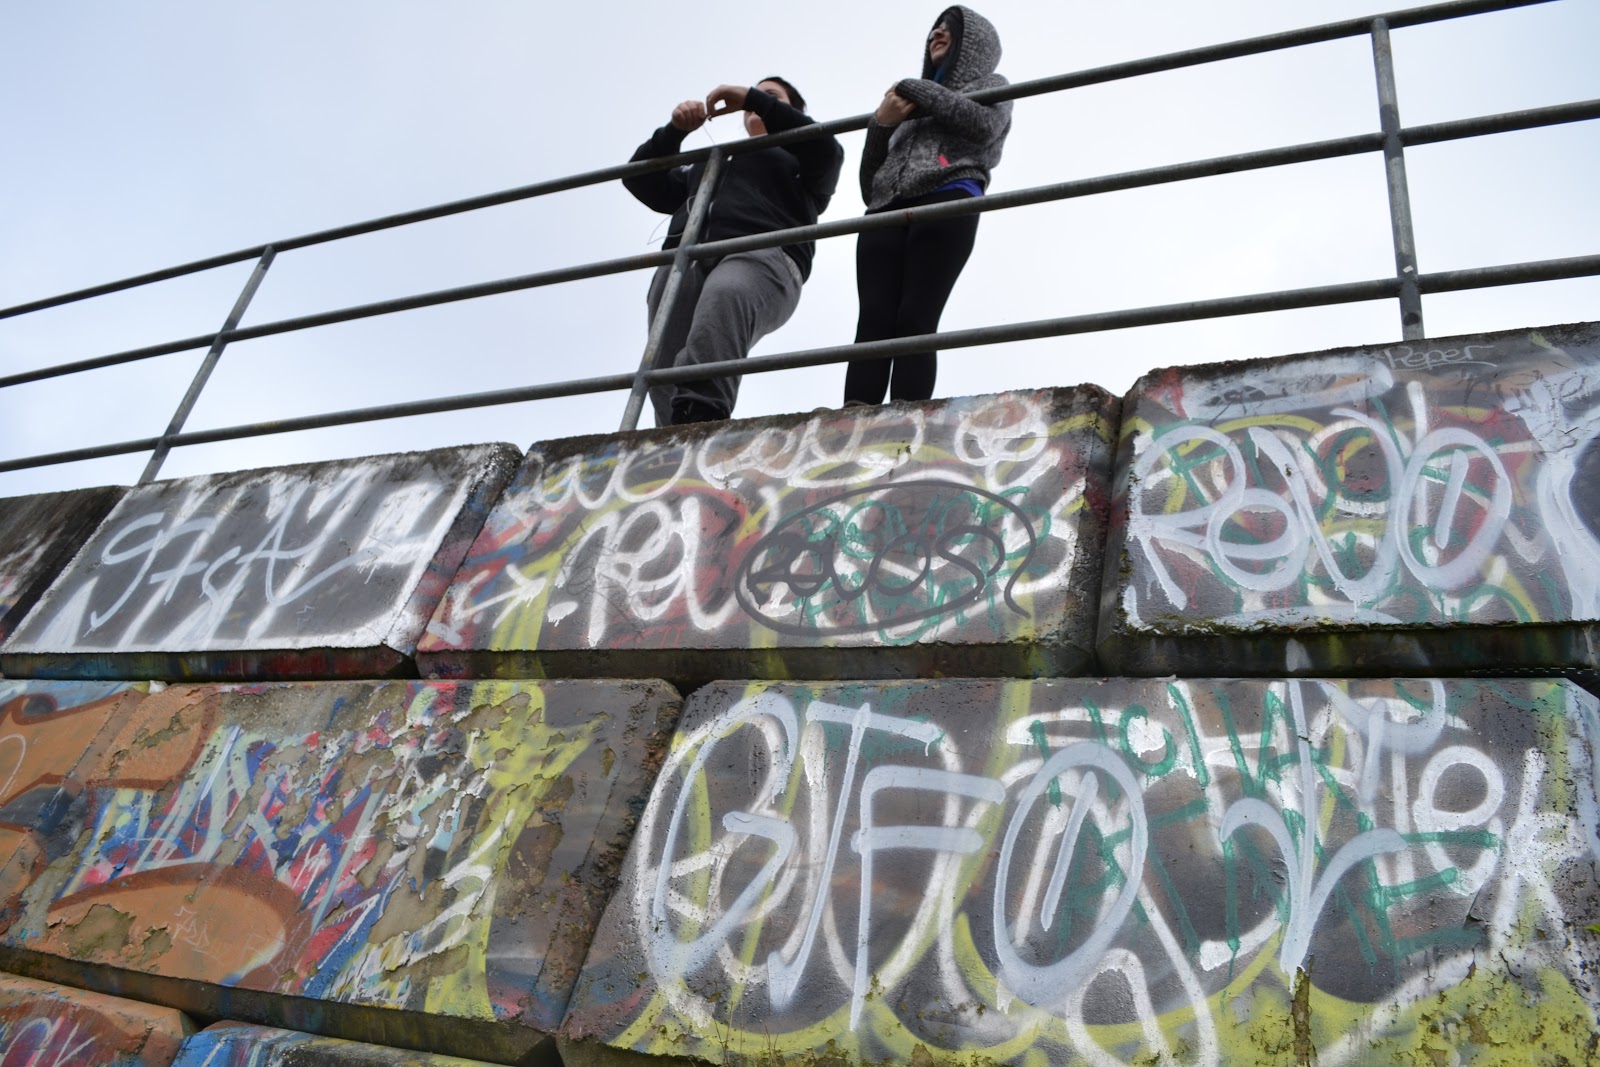
I went out and took multiple photo's of Graffiti, then continued to try each effect on a separate image.
1. http://www.photoshopessentials.com/photo-effects/infrared-photo/
After and Before

The first image is the one with the effect applied. After playing around in photoshop I didn't notice much of a difference, so overall I was not impressed with the tutorial, although it did enhance the colours of the photo.
2. http://photo.tutsplus.com/tutorials/post-processing/creating-an-infrared-effect-to-photos-using-photoshop/
After and Before


I was more pleased with how this one turned out. Still curious as to if I could improve just a bit more, I decided to mix the two techniques together...
3. The mix. I used the first process to greatly improve the colour and contrast, then I used the second one after to give it that darker infrared feel.
After and Before

In the end, I learned quite a bit of the channel mixing technique. I also found out that there are many ways of achieving an end result and that you should always strive to increase your personal arsenal of photo editing skills.
No comments:
Post a Comment